How to Draw a Black Labrador
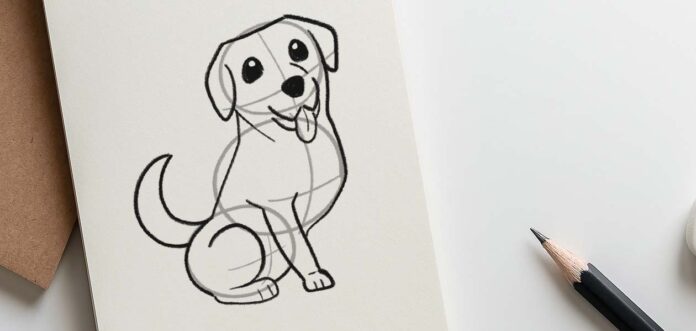
It's time to learn how to draw a Labrador!
Drawing is a skill that comes naturally to some, but most of us need a little help.
Even talented artists don't always get it right on the first go, and sometimes need a hand perfecting a new technique.
How To Draw A Labrador – Step by Step
One of the best ways to learn how to draw is in stages. Very few people can start in the corner of a picture and line by line produce a great work of art in the manner of a printer.
Most great artists break down their drawings into steps. Basic outlines and simple shapes are built upon, until the canvas is filled with something spectacular.
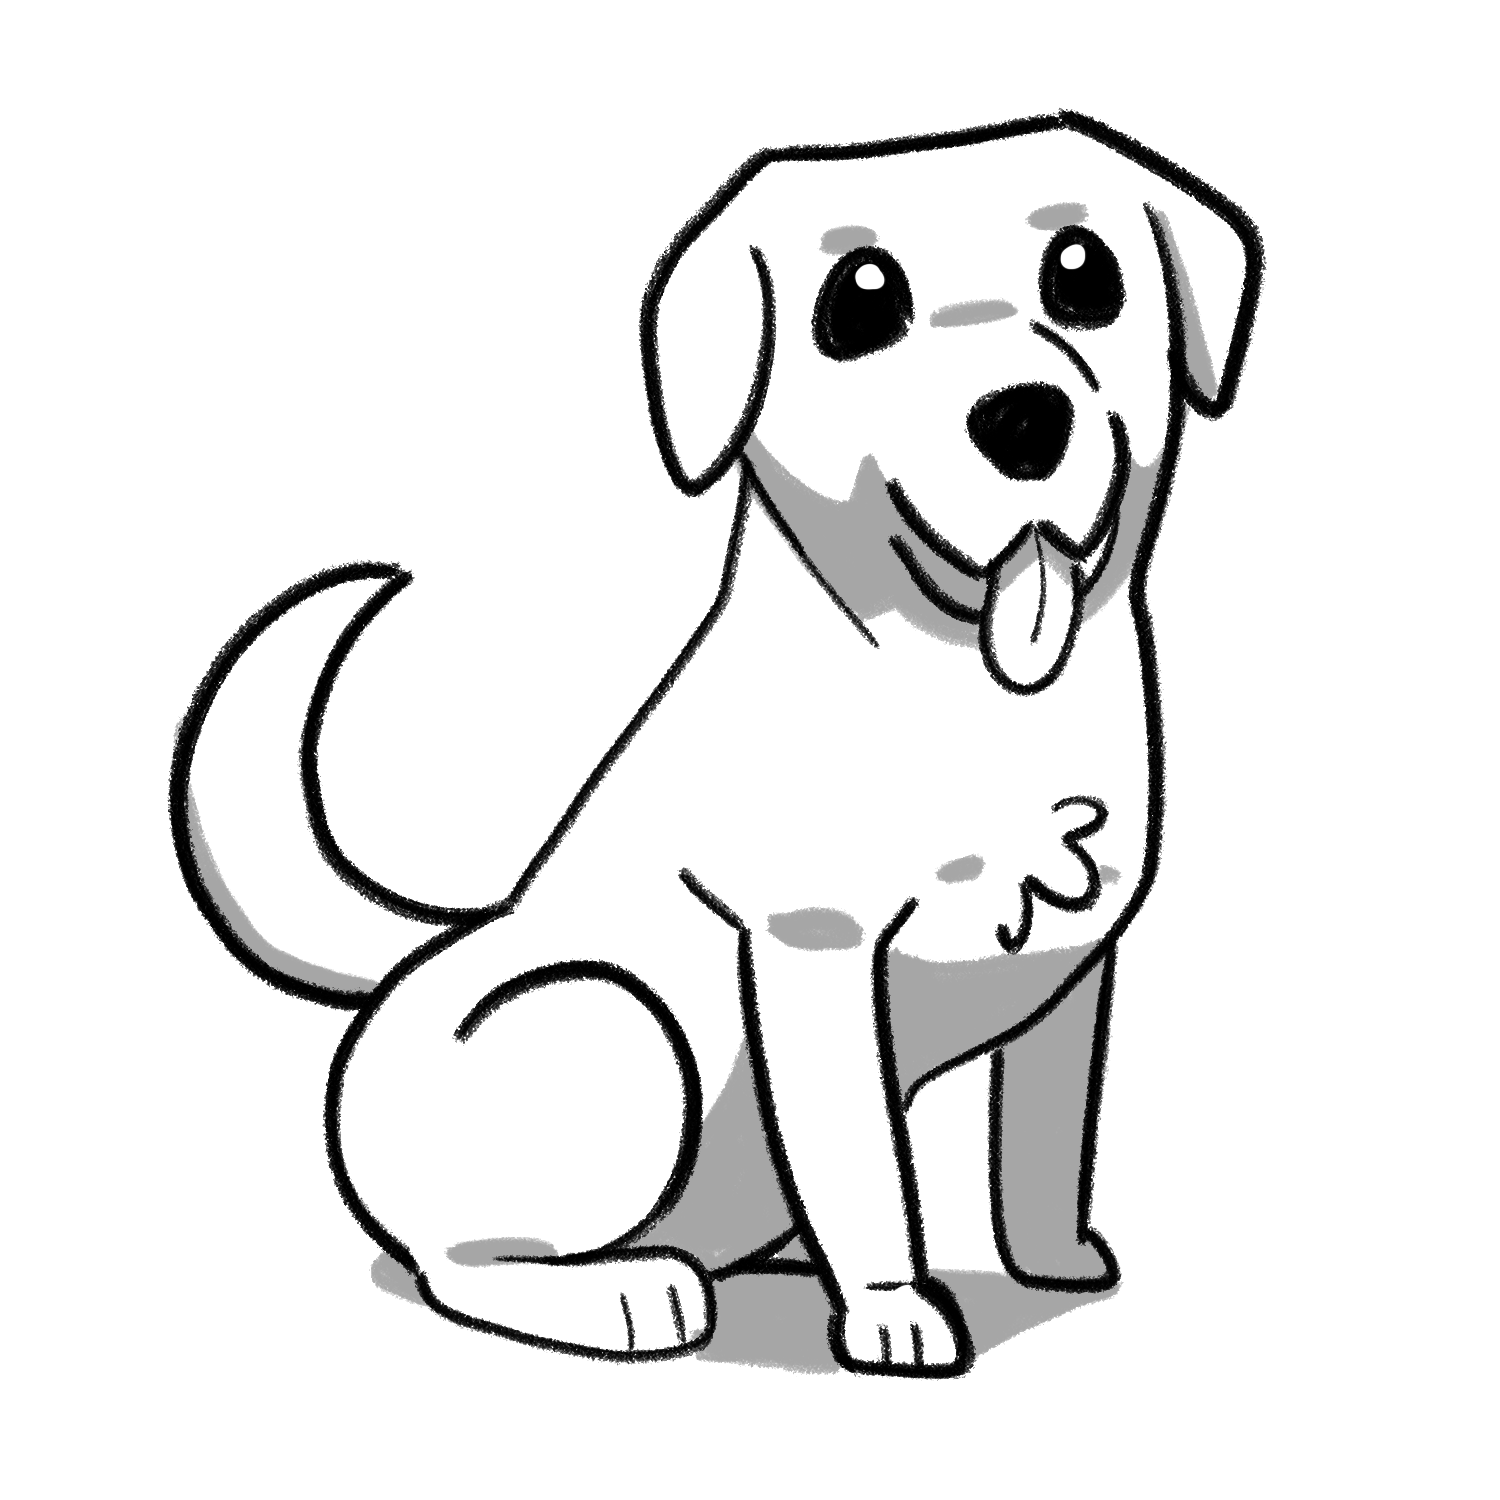
In these instructions each new section will be in red to help you focus on the part at hand.
Pencil, pen and paper ready?
It's time to begin!
Step 1
Take your pencil and piece of paper.
Draw three circles. The central circle should be slightly bigger than the other two.
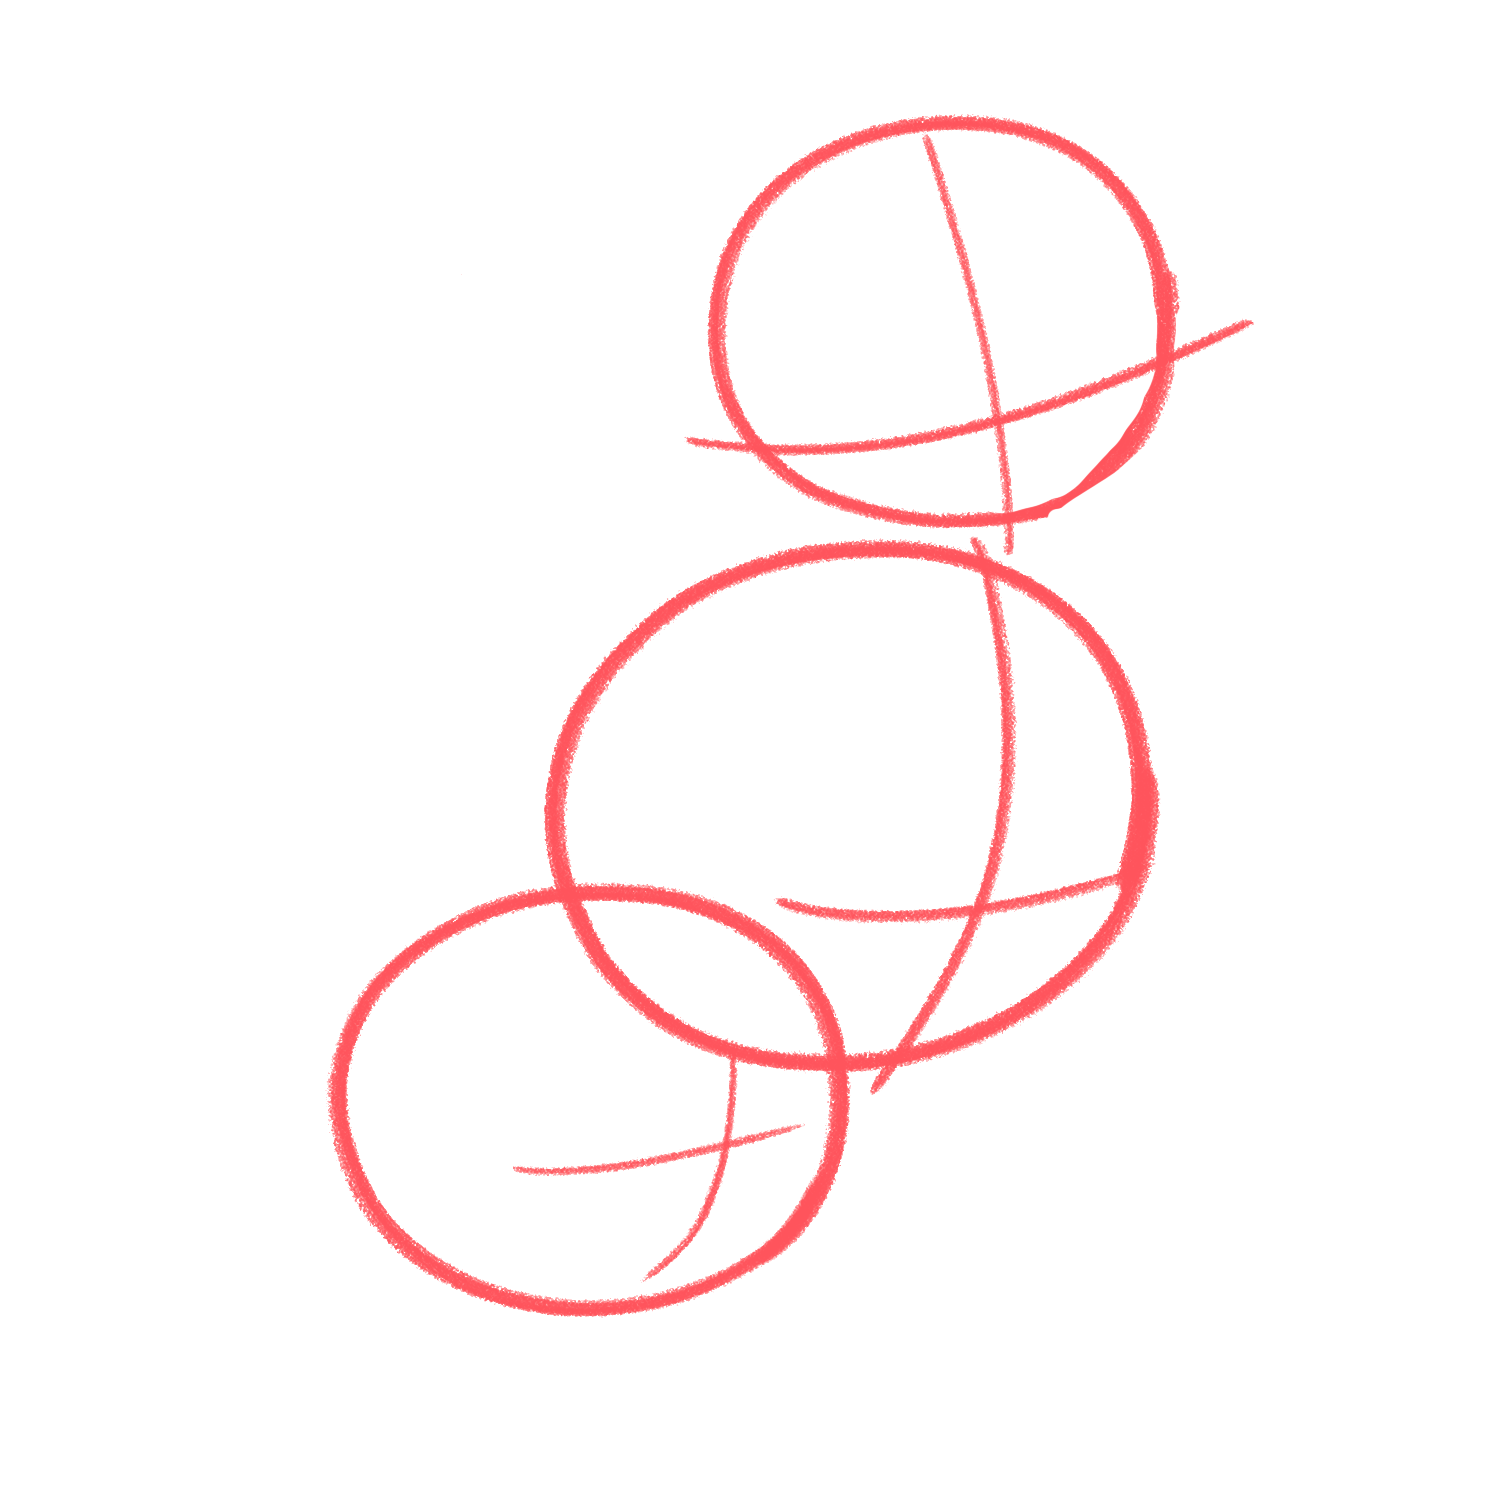
The top circle will become your dog's head. The middle circle will be her torso. The bottom circle, intersecting the torso, will be her hips.
Make a cross in each circle, placed towards the lower right hand side. These marks will help you to add features later on.
Step 2
It's time to give your pup a face! Let's get bold and switch to your pen.
Use your cross to place them in the right area.
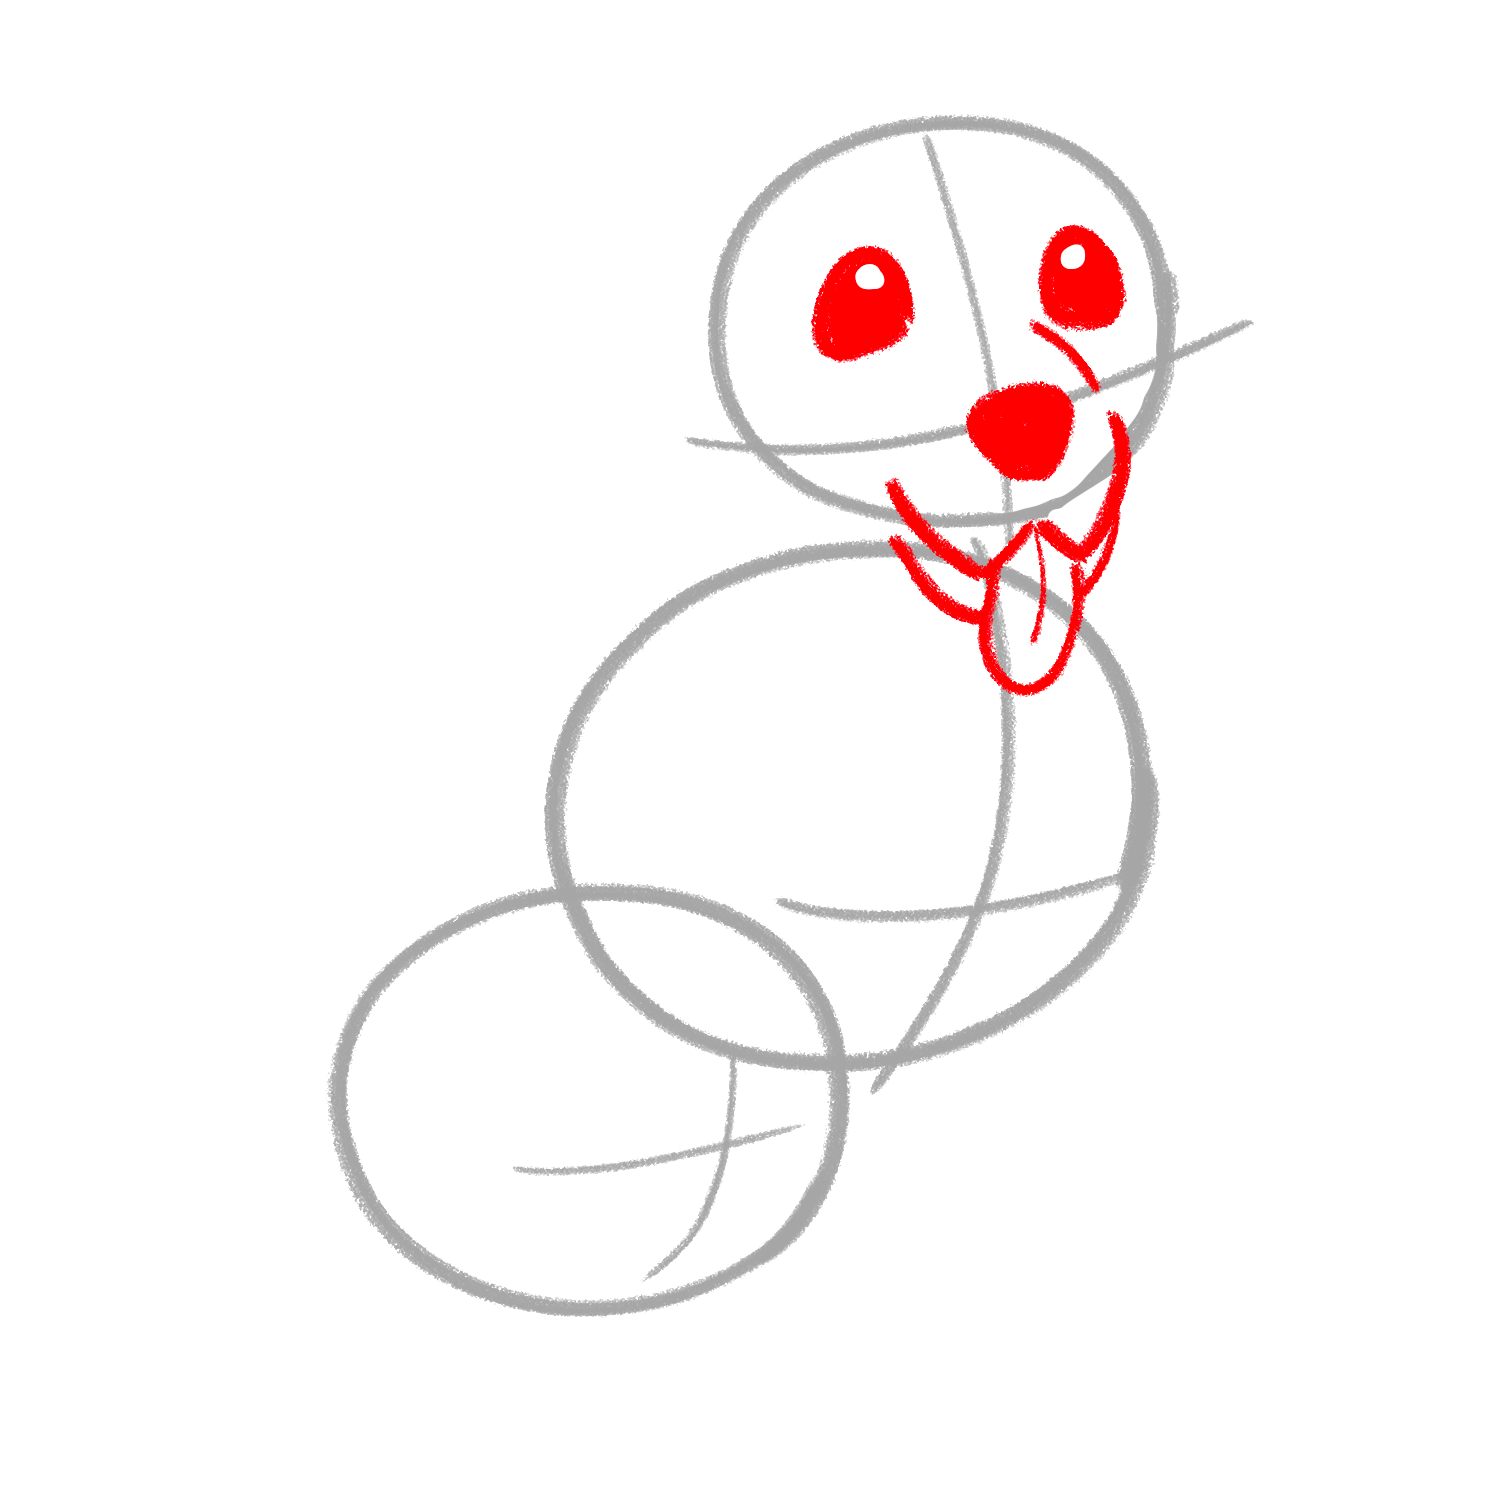
The eyes will go in each of the top segments. The nose will rest on the centre of your cross.
Let the tongue and muzzle placement hang into the middle circle.
Step 3
We are now going to add some bigger features.
Let's start with those floppy Labrador ears!
Working from one side of the head to the other, make sure they hang down no further than the base of the top circle.
They should fall just lower than your horizontal line.
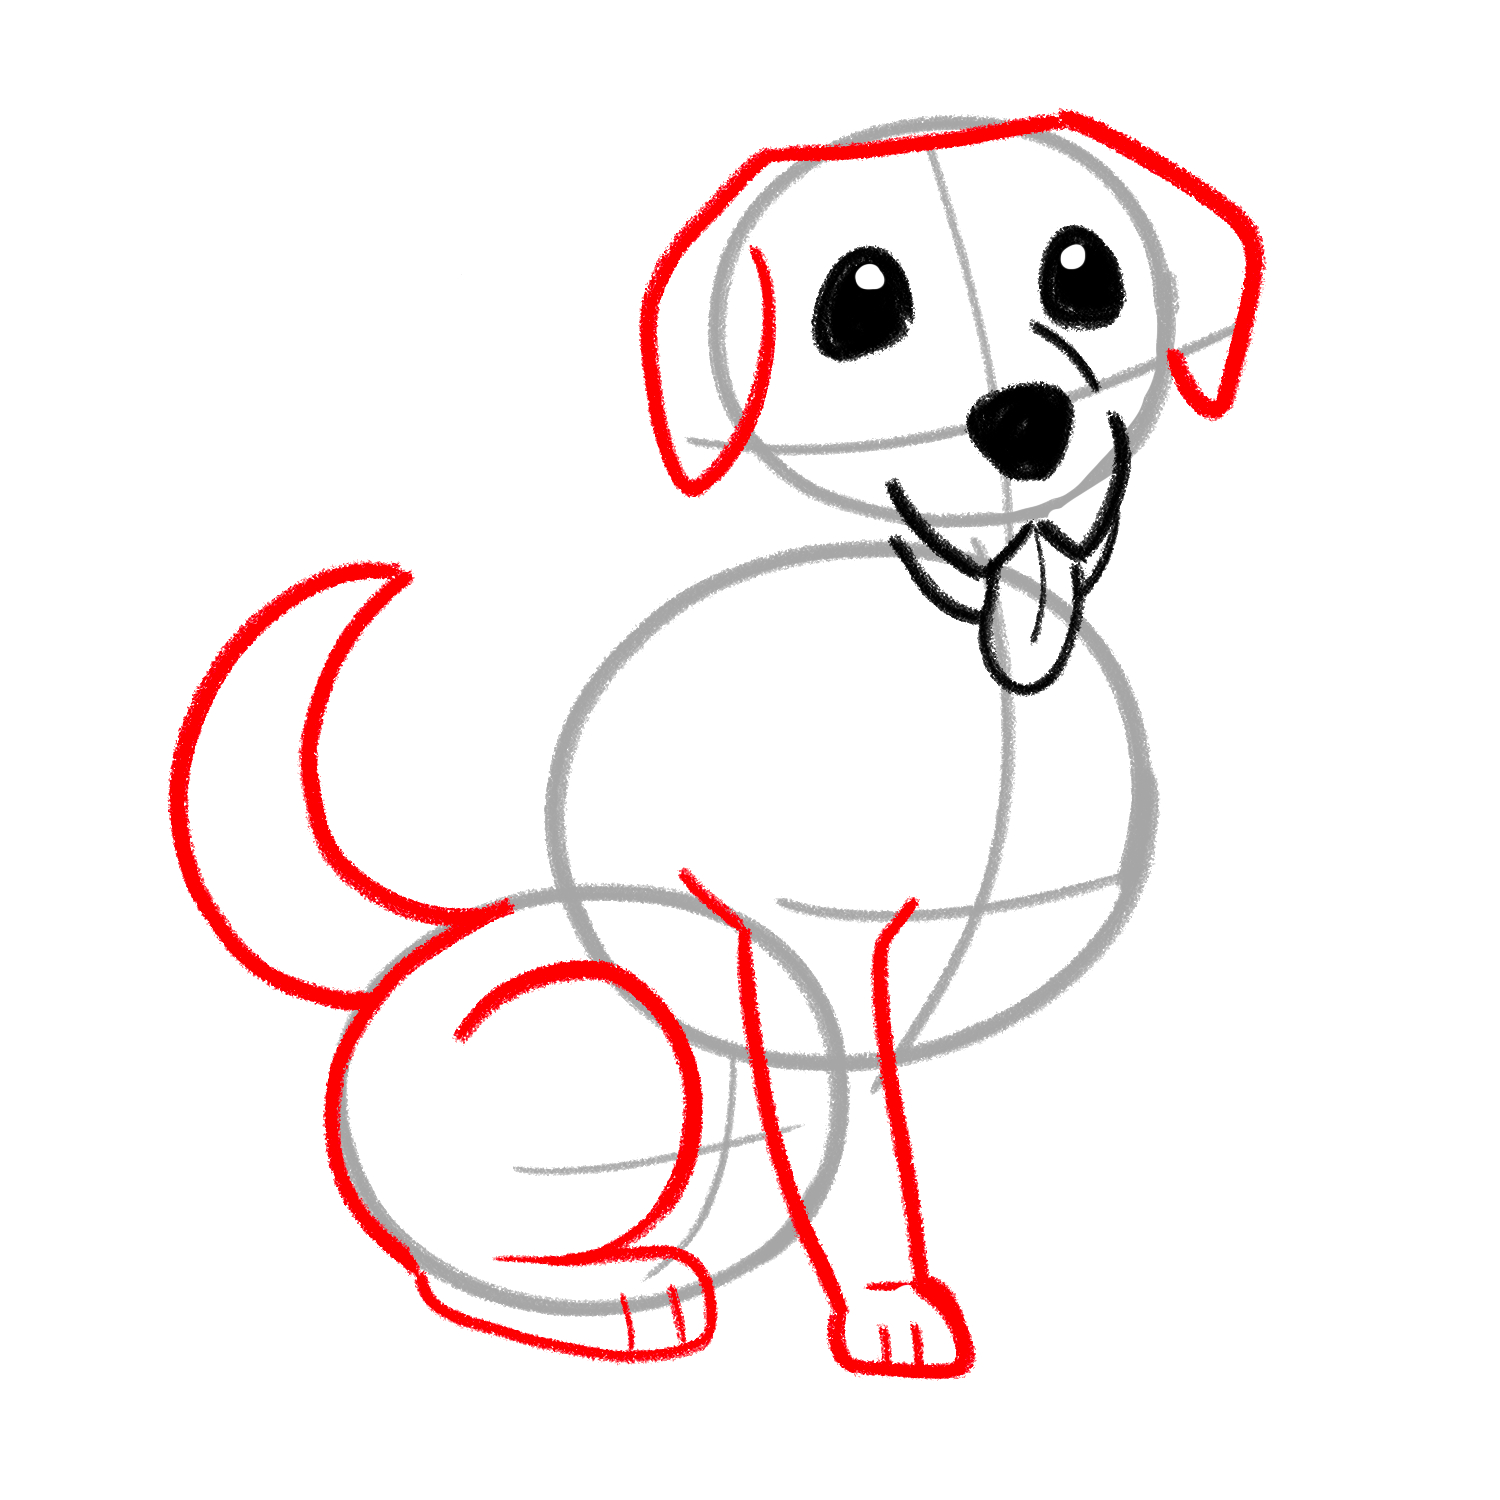
Now let's give her a couple of legs and a lovely waggy tail!
The tail will wave up from the top left hand side of the bottom circle.
The hind leg will rest in the middle of that circle. The right left will sit snugly next to it.
Step 4
It's time to give that dog a bit more structure.
You are going to make two new lines. One for the slop of his back and nape of his neck.
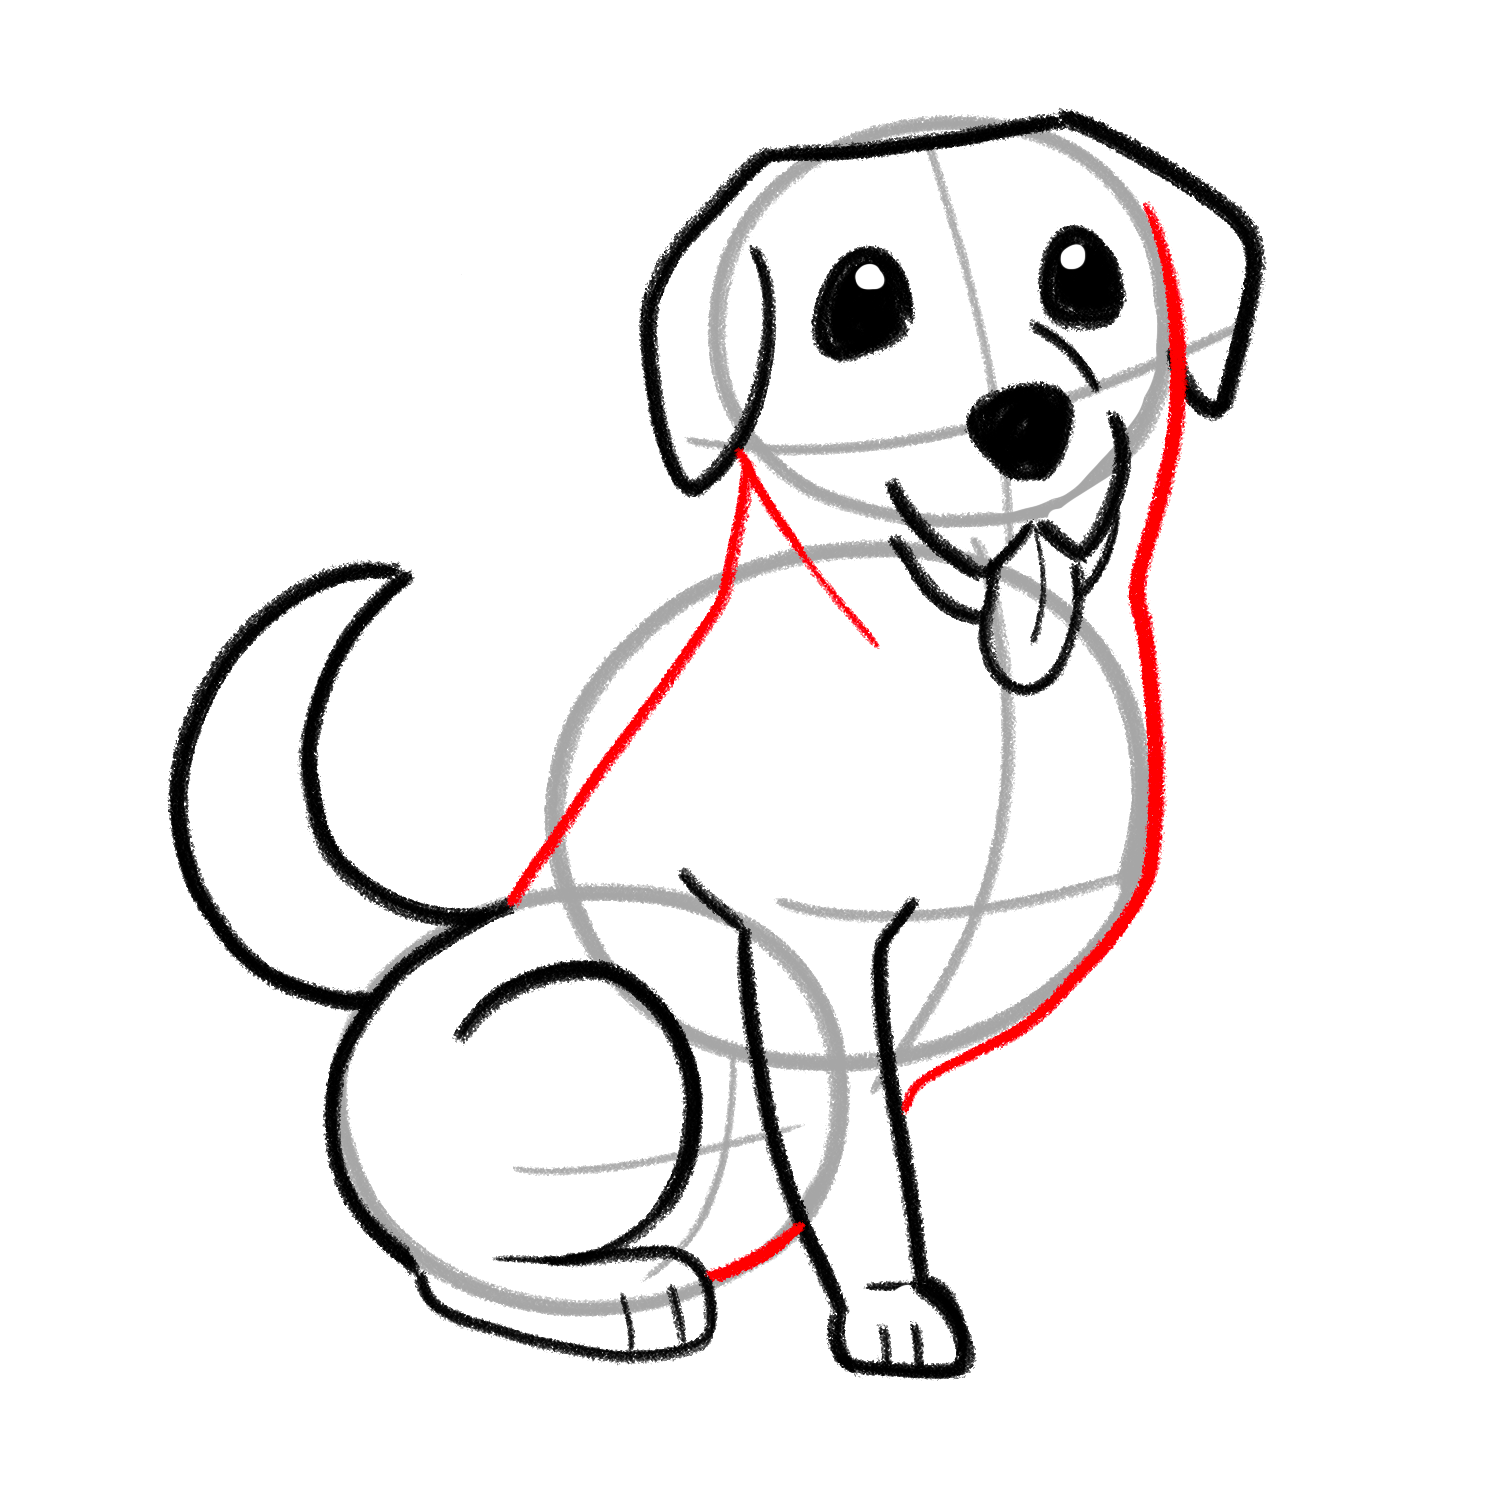
The other will define his front. Add a last little line between those two legs.
Step 5
Your Lab's been out having fun, and his fur has got a little scruffed up.
This gives him a bit more character and texture. So go ahead and draw a half cloud shape on his chest.
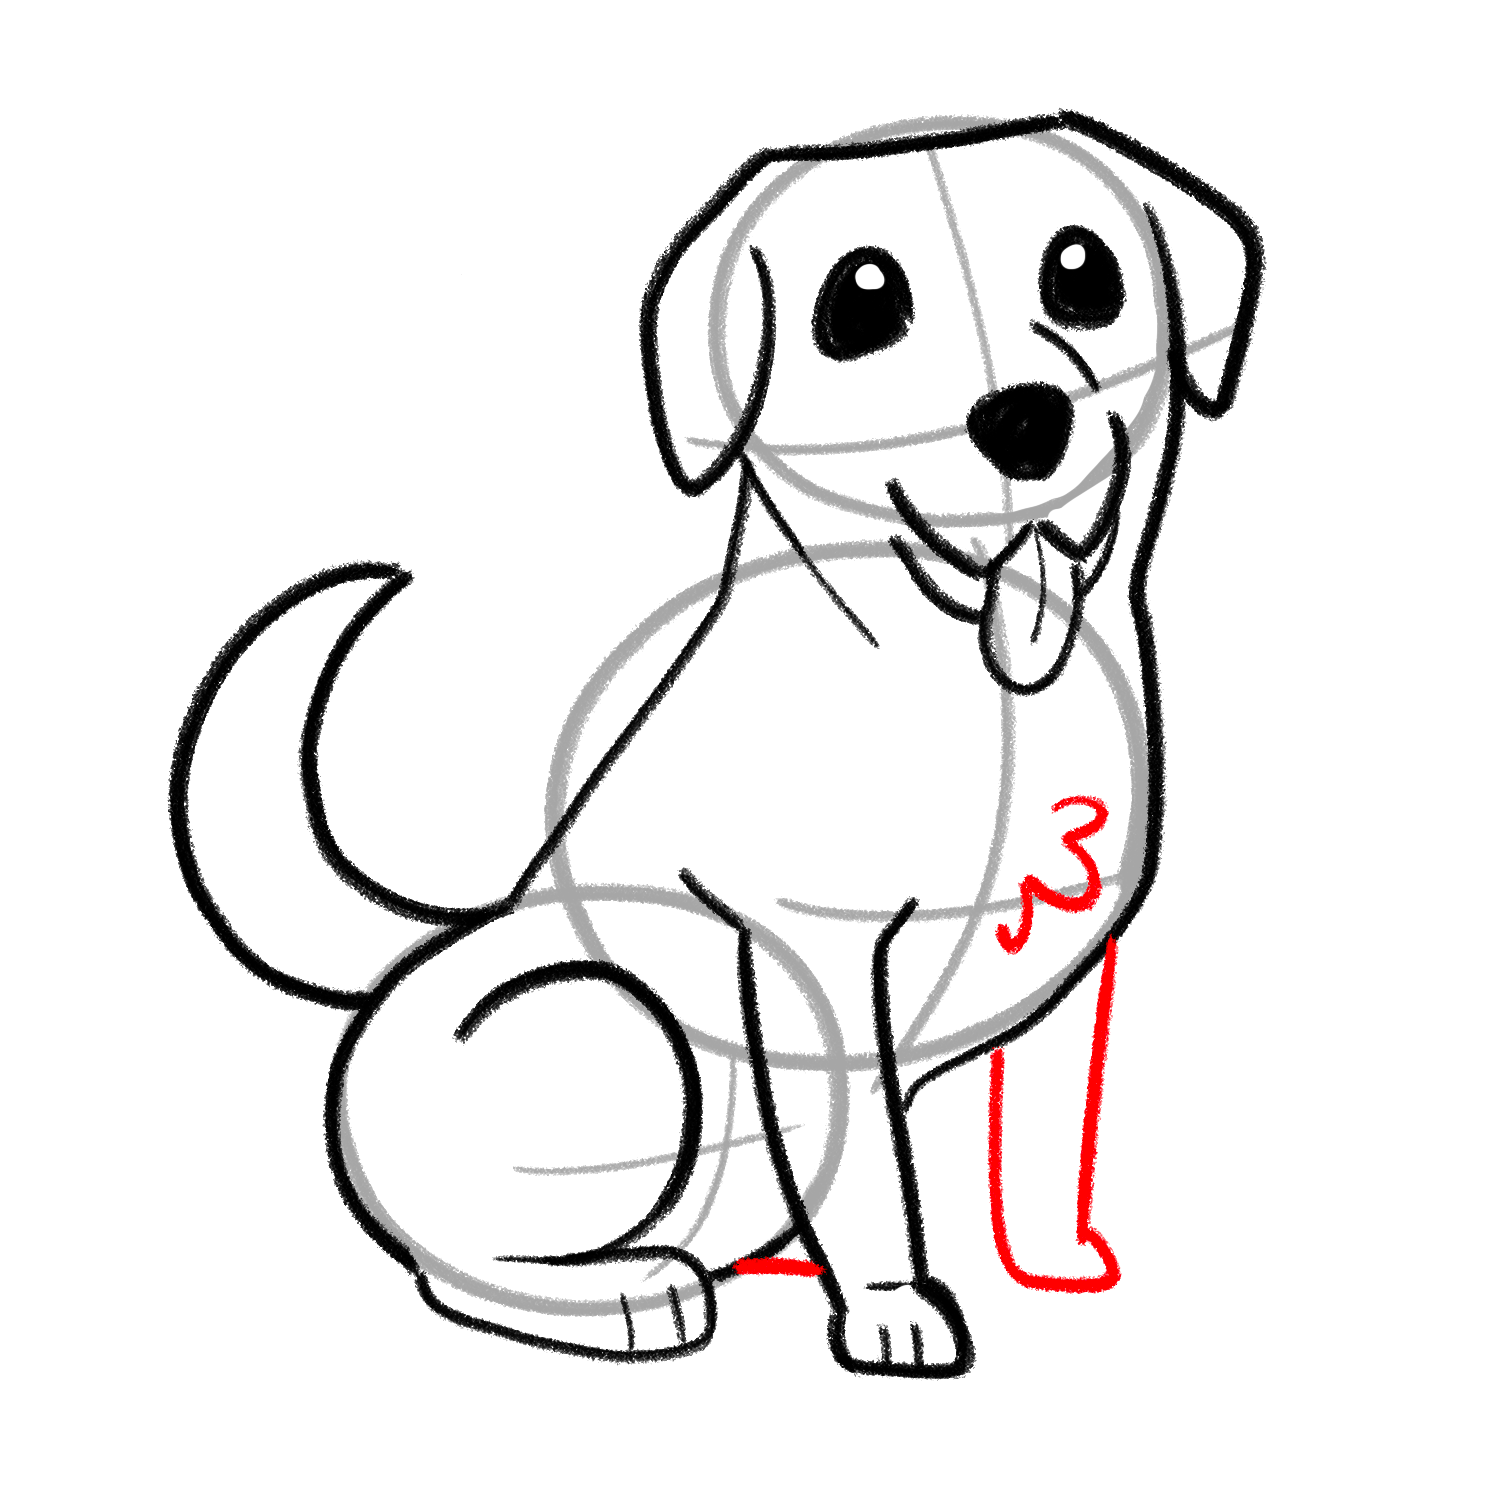
Add in his left front leg, with a small paw pointing off to the side.
Step 6
We're nearly there! So let's get rid of those construction lines.
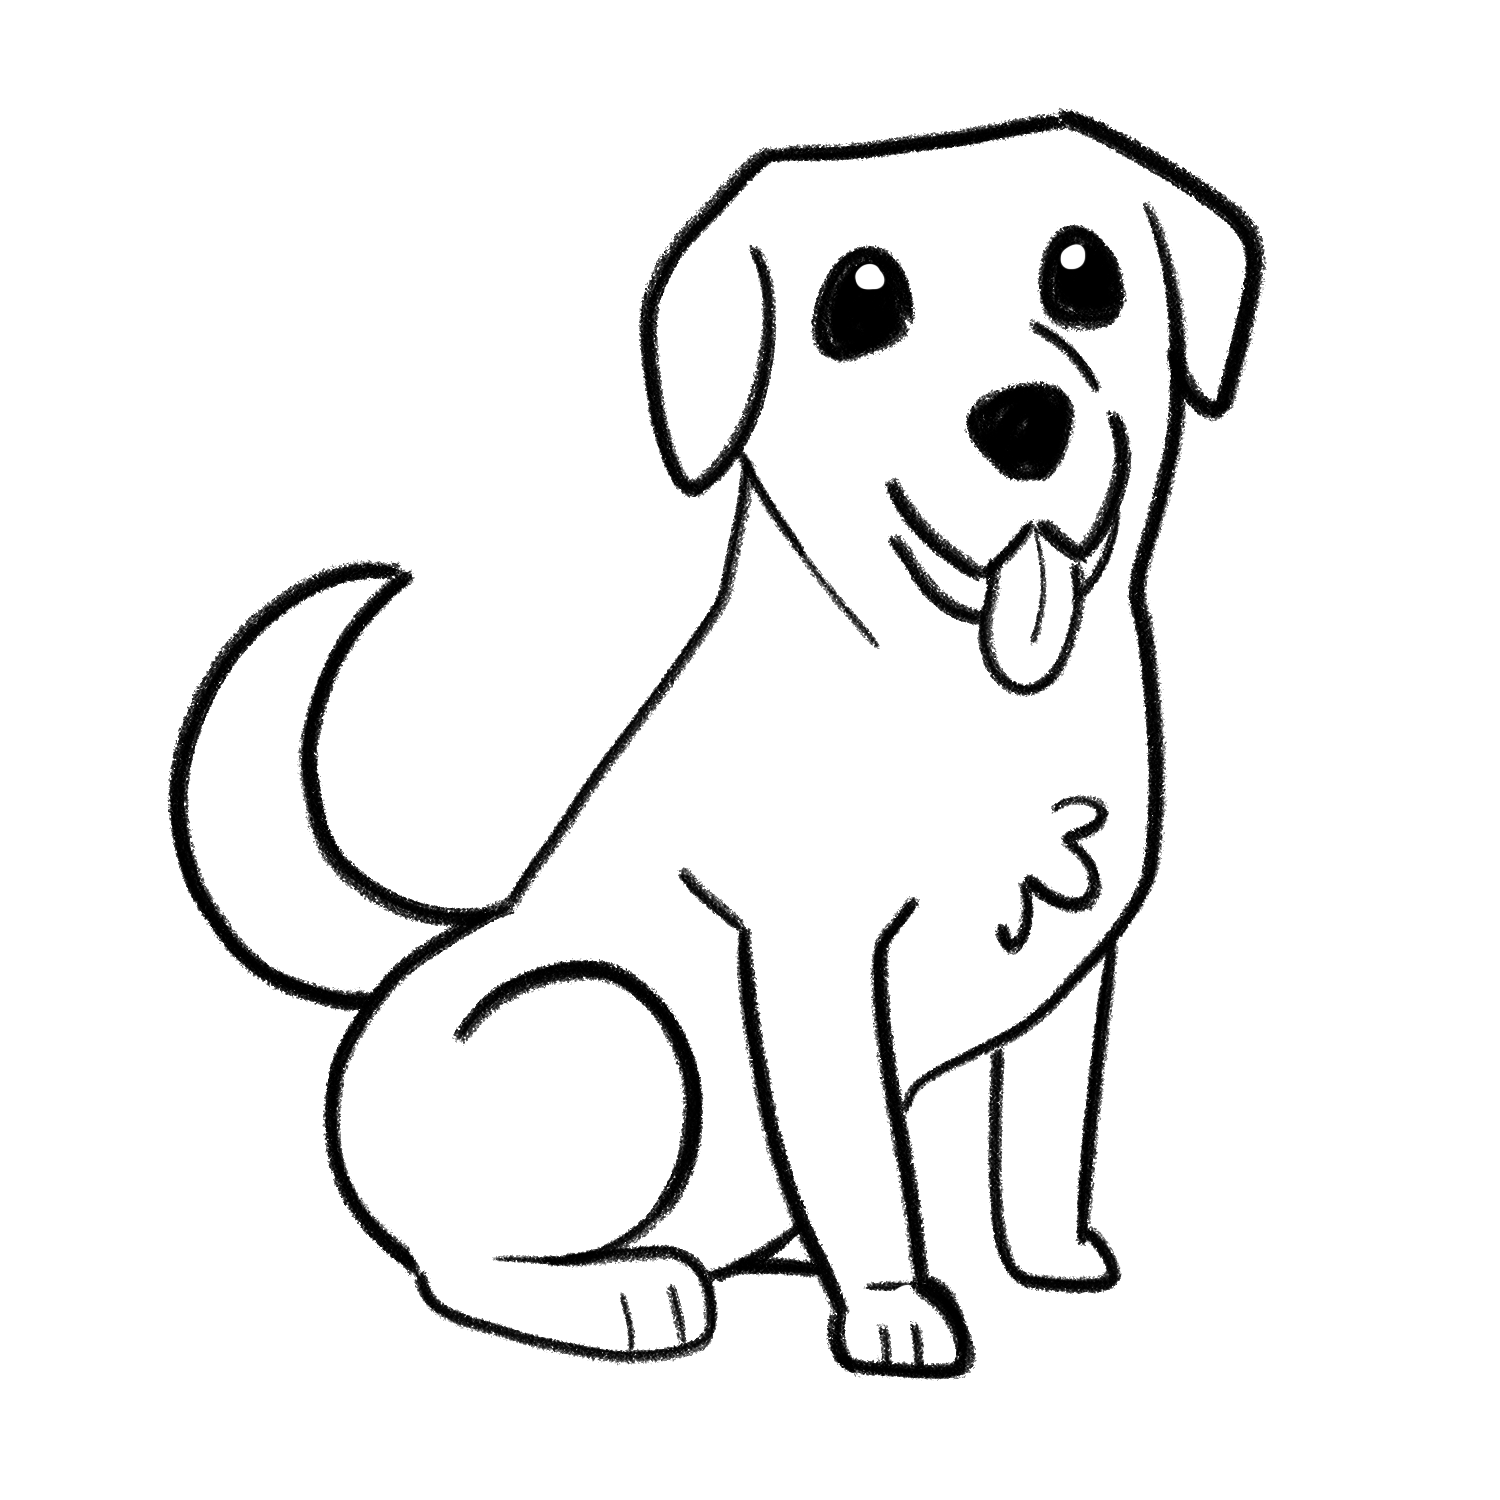
Gently touch your paper to make sure your ink is dry. If it isn't wait until it is or you will smudge your picture.
When it's dry, take an eraser and gently delete the first three circles you drew.
Step 7
Grab that pencil again! We are going to give your pup some definition.
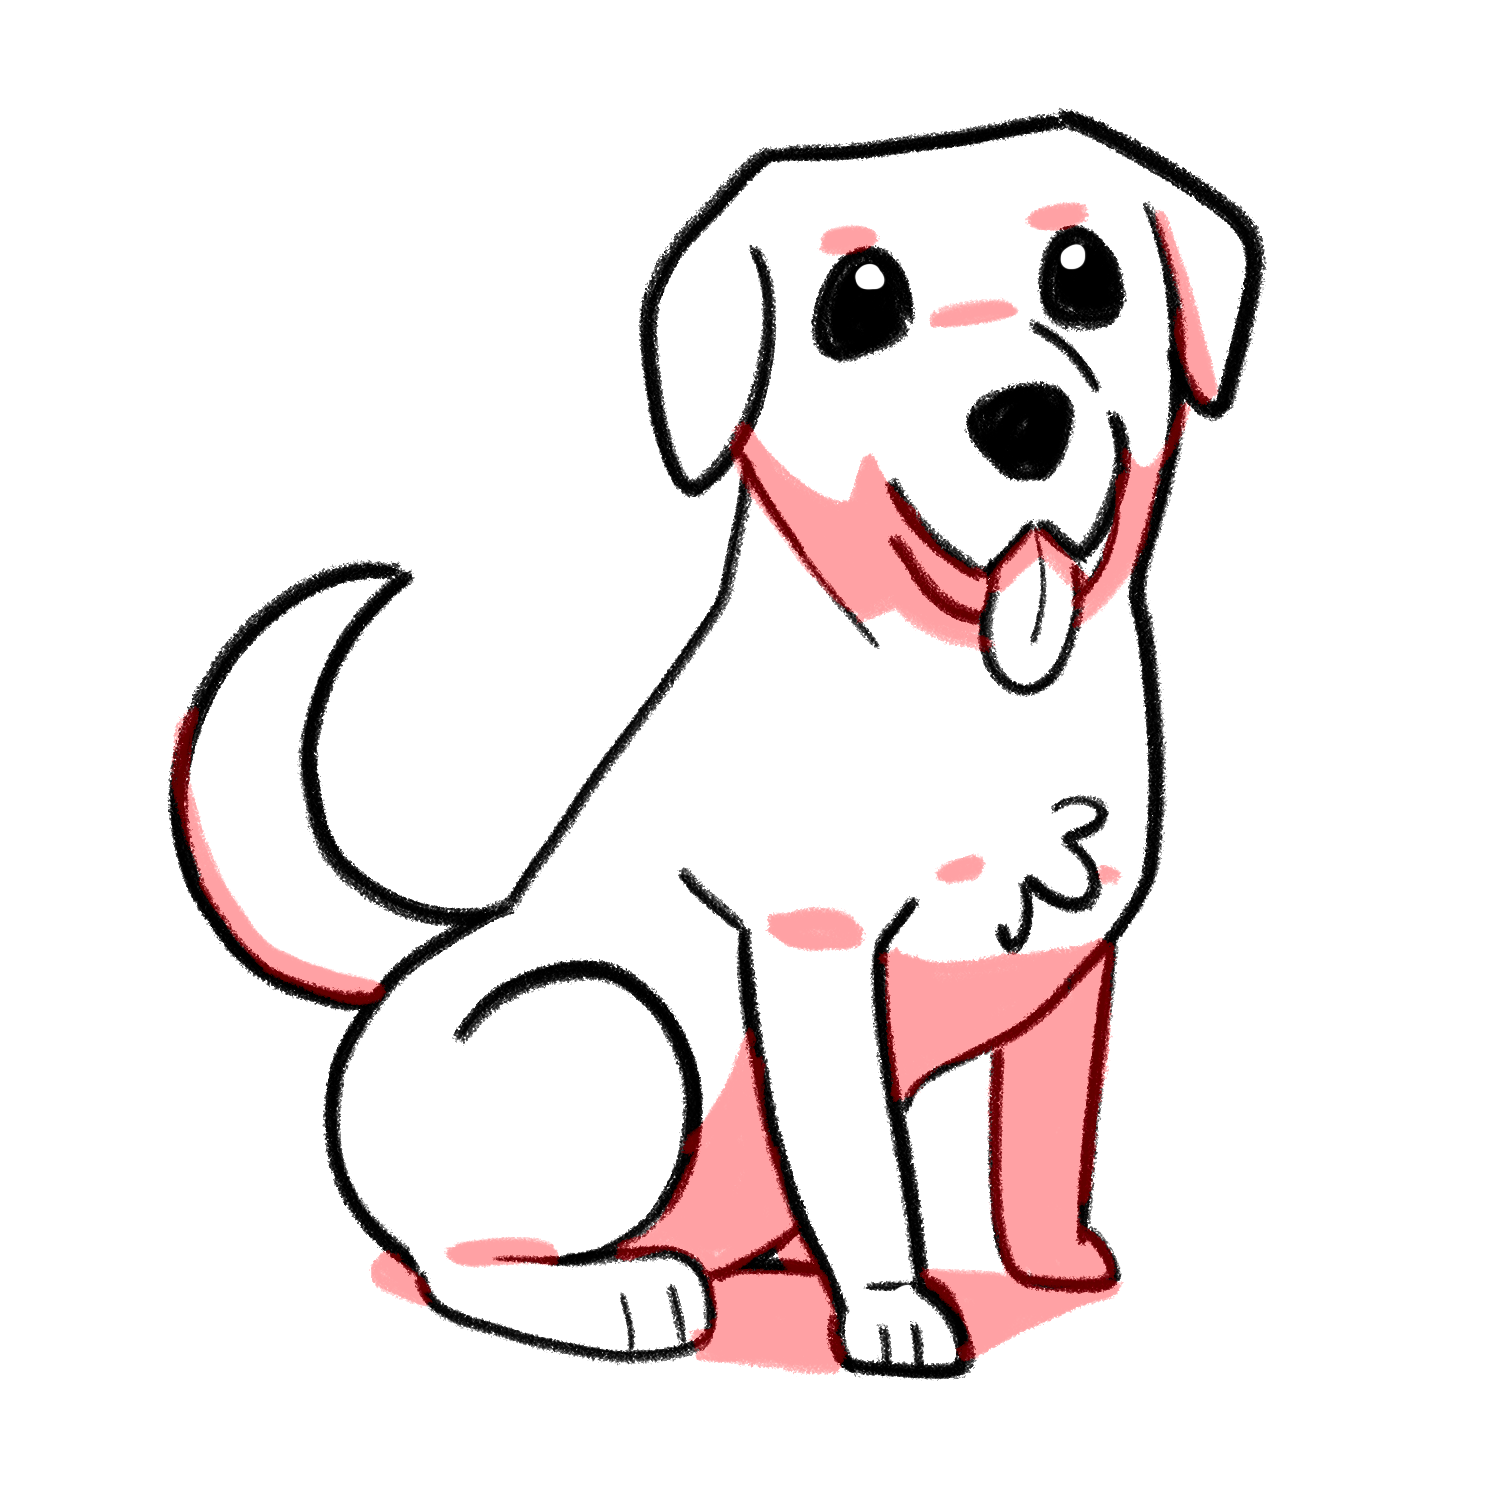
Using soft, light strokes shade in the areas shown in pink on the image.

Step 8
You're done! Congratulations on your gorgeous doggy drawing!

Don't be discouraged if your Labrador doesn't look exactly like these images on your first try. Even copying to a format is a learned skill in part. Give it another go and I bet you'll be even more pleased with the results.
After all – practice makes perfect! And with practice, anyone can learn how to draw a Labrador of their own.
With thanks to Toby Mattinson Animation for the Labrador illustrations.

The Labrador Site Founder

Pippa Mattinson is the best selling author of The Happy Puppy Handbook, the Labrador Handbook, Choosing The Perfect Puppy, and Total Recall.
She is also the founder of the Gundog Trust and the Dogsnet Online Training Program
Pippa's online training courses were launched in 2019 and you can find the latest course dates on the Dogsnet website
Source: https://www.thelabradorsite.com/how-to-draw-a-labrador/
0 Response to "How to Draw a Black Labrador"
Post a Comment